

")
Today’s blog topic is all about something we all love…collaborations! Who doesn’t love a good collaboration, am I right? We get hit up all the time for these, so I know that there are lots of photographers out there who love to shoot florals for their content. And we couldn’t be more grateful for getting to team up with talented photogs to get us some dreamy photos of our work. It’s an awesome win-win!
I’ve had photographers ask me in the past about how to make sure they are providing great images that the florist can use. Anytime you participate in a collaboration where an artist is providing free work in exchange for photography, you of course want to make sure you capture plenty of photos that will not only benefit your portfolio, but the other artist’s as well.
Like all artists, Florists are pretty critical of their own work and for that reason some of us can be HELLA picky when it comes to posting photos of our work, and choosing which photos we feel represent our designs best. So the more photos you can provide that show off our work in its best light, the more of those photos we will likely share. And more sharing = more tagging, more visibility, better positioning in the algorithm… you get the point. 🙂
I’m here today to give you some insider tips on what types of floral images us florists LOVE to see. Particularly when it comes to bouquet photos. So here we go!
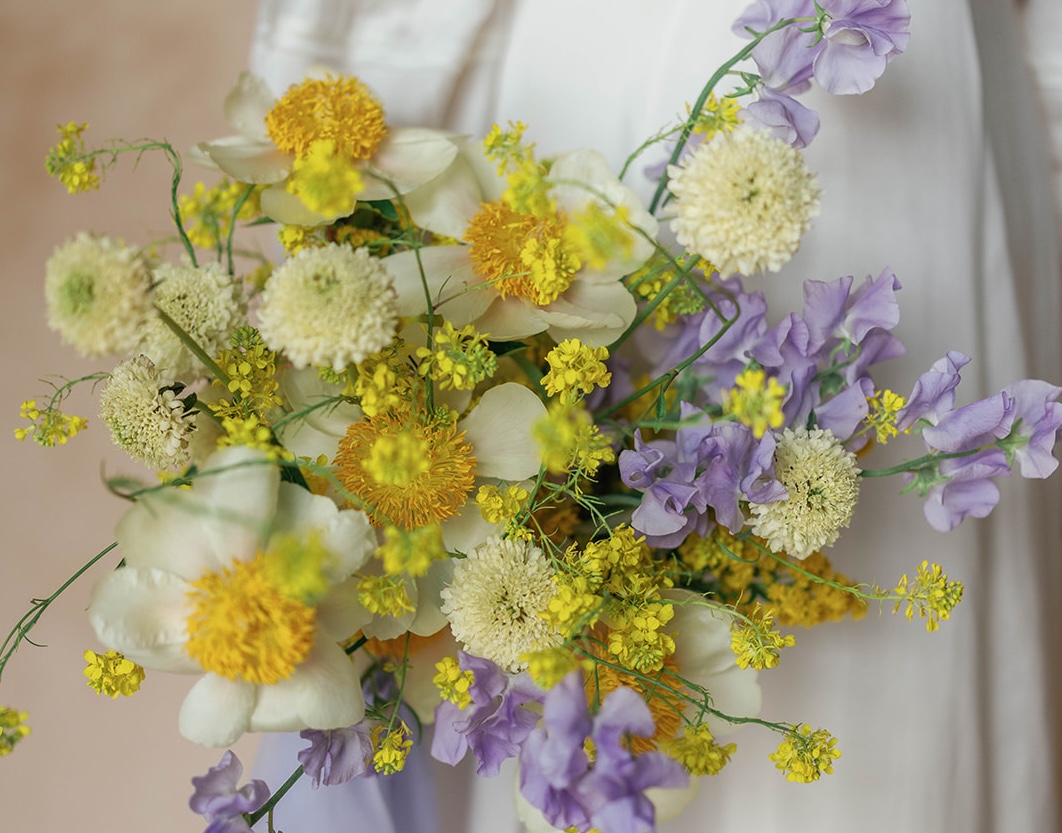
Recently I had the pleasure of being a part of a bridal shoot collaboration with Alex W Photography, and he did an amazing job capturing our bouquet in all kinds of different ways! I couldn’t have been happier with the results of this shoot, and was so grateful to have a huge variety of lovely images that we will be able to use and share for years to come.
Here are a handful of tips to think about when photographing bouquets… which hopefully you can jot down if you need ideas for your next styled shoot!
-
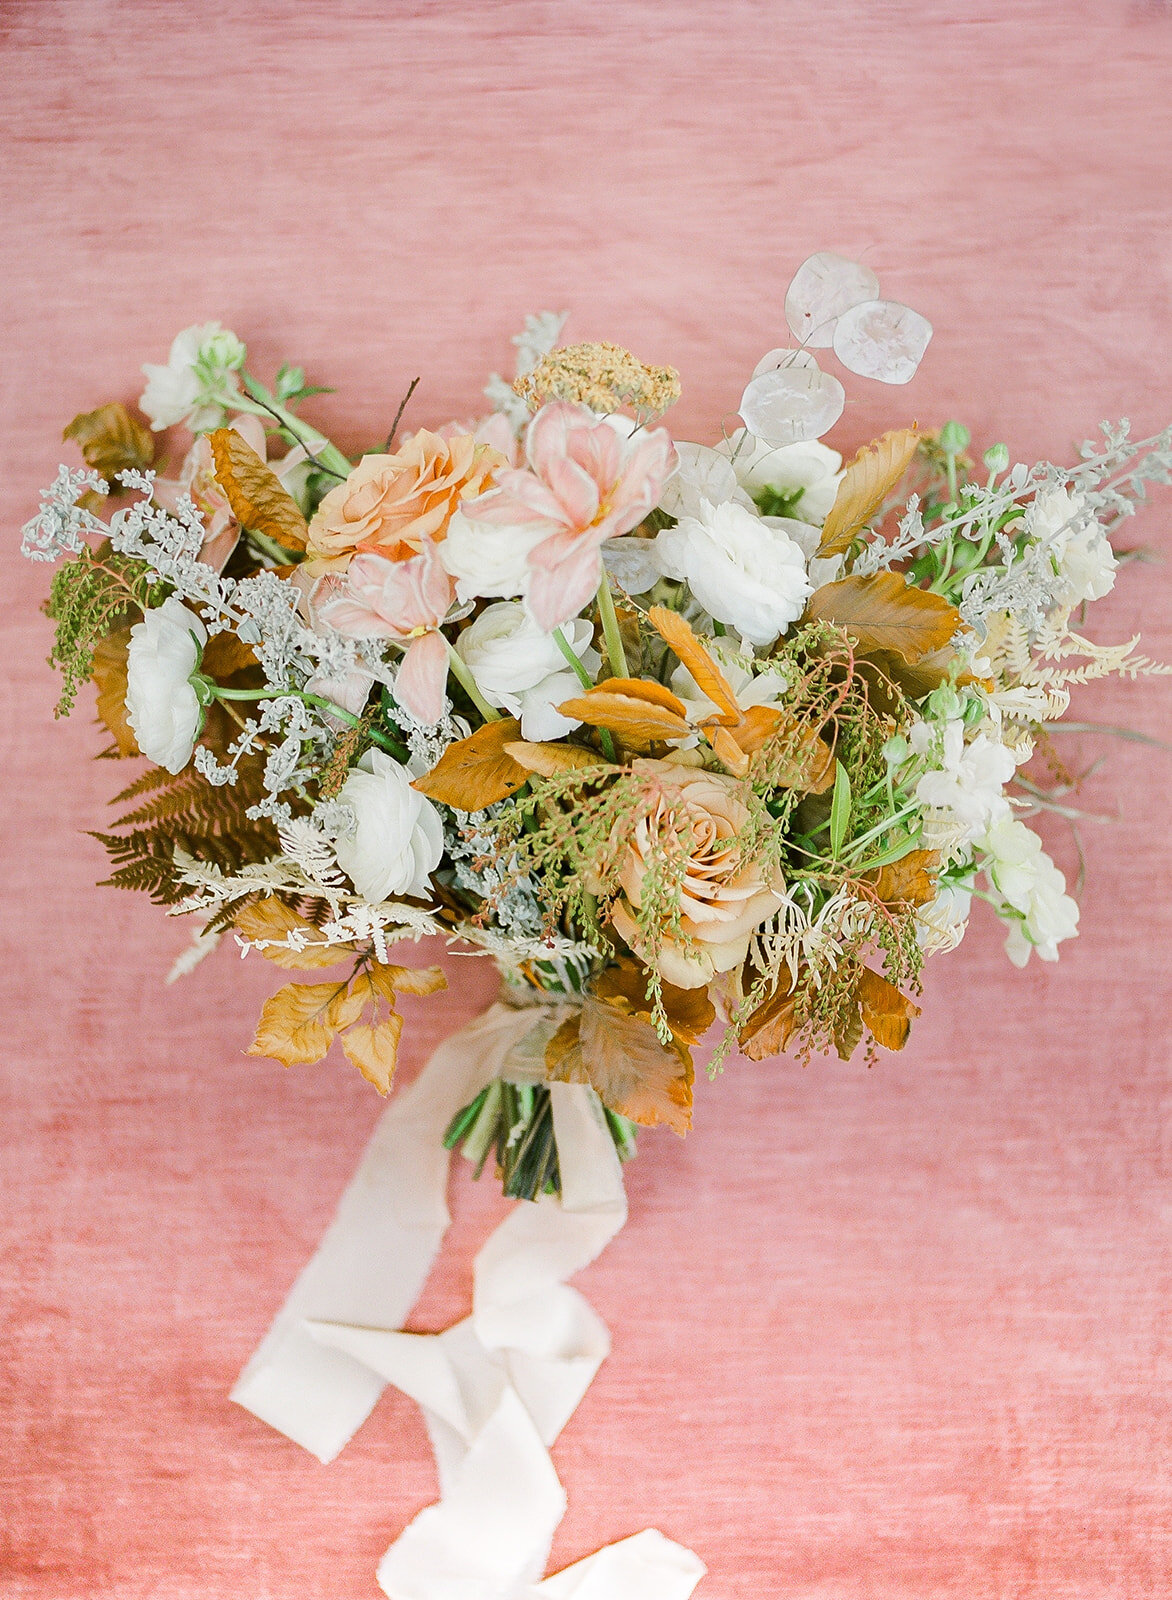
Flatlay
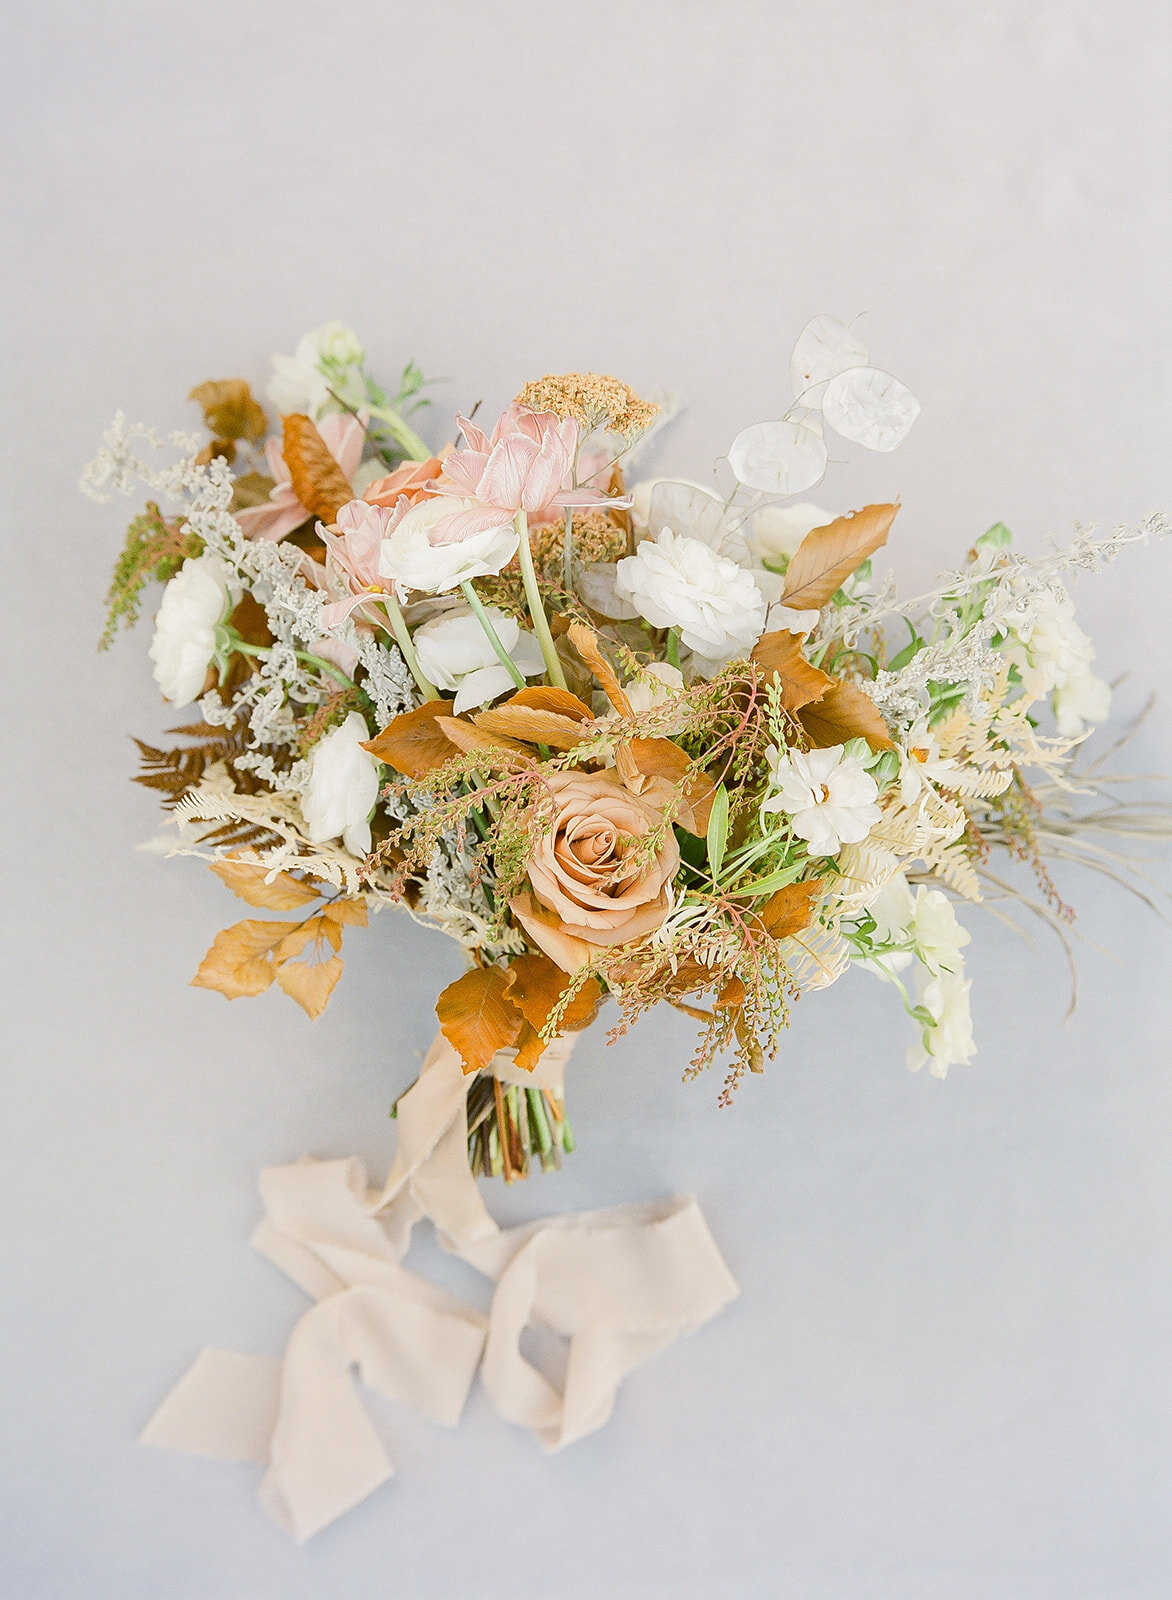
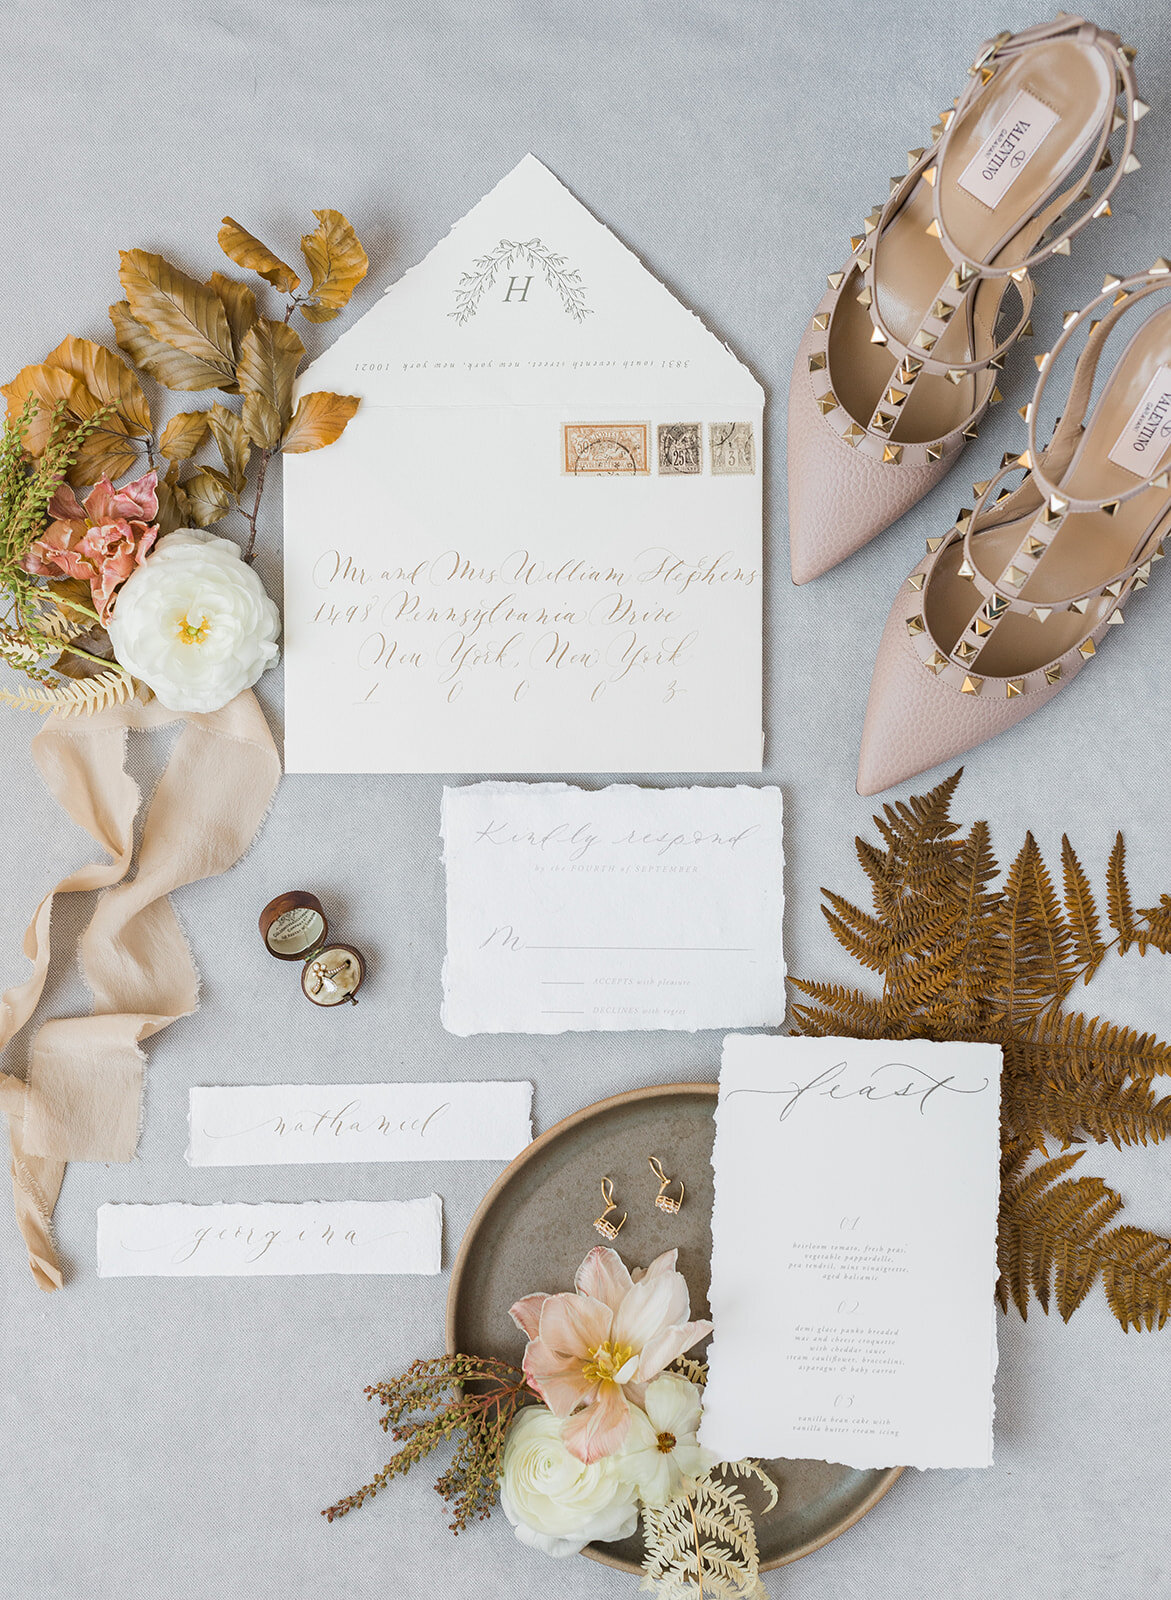
While you are shooting details like jewelry, invitation suites, and shoes, you might as well snag a couple shots of the bouquet also! Every florist loves a good bouquet flatlay. Publications love it because it feels very editorial, and it always looks very elegant on your Instagram feed!
Examine the bouquet to decide which side is most appealing and will photograph best lying down. If you aren’t sure which side you like more, capture both sides! The florist might have a favorite side, so capturing different faces and different angles of the bouquet will help ensure that the florist can find an image that they feel represents the bouquet at its best. If the stems have been trimmed evenly, you can also stand the bouquet up for a different look.
Helpful tip: If you lay the bouquet down and notice any dark spots or “holes” that you find distracting, you can use a loose flower (you might have extras that the florist gave you for styling details) and tuck it into the bare spot.
Images by Alex W. Photography
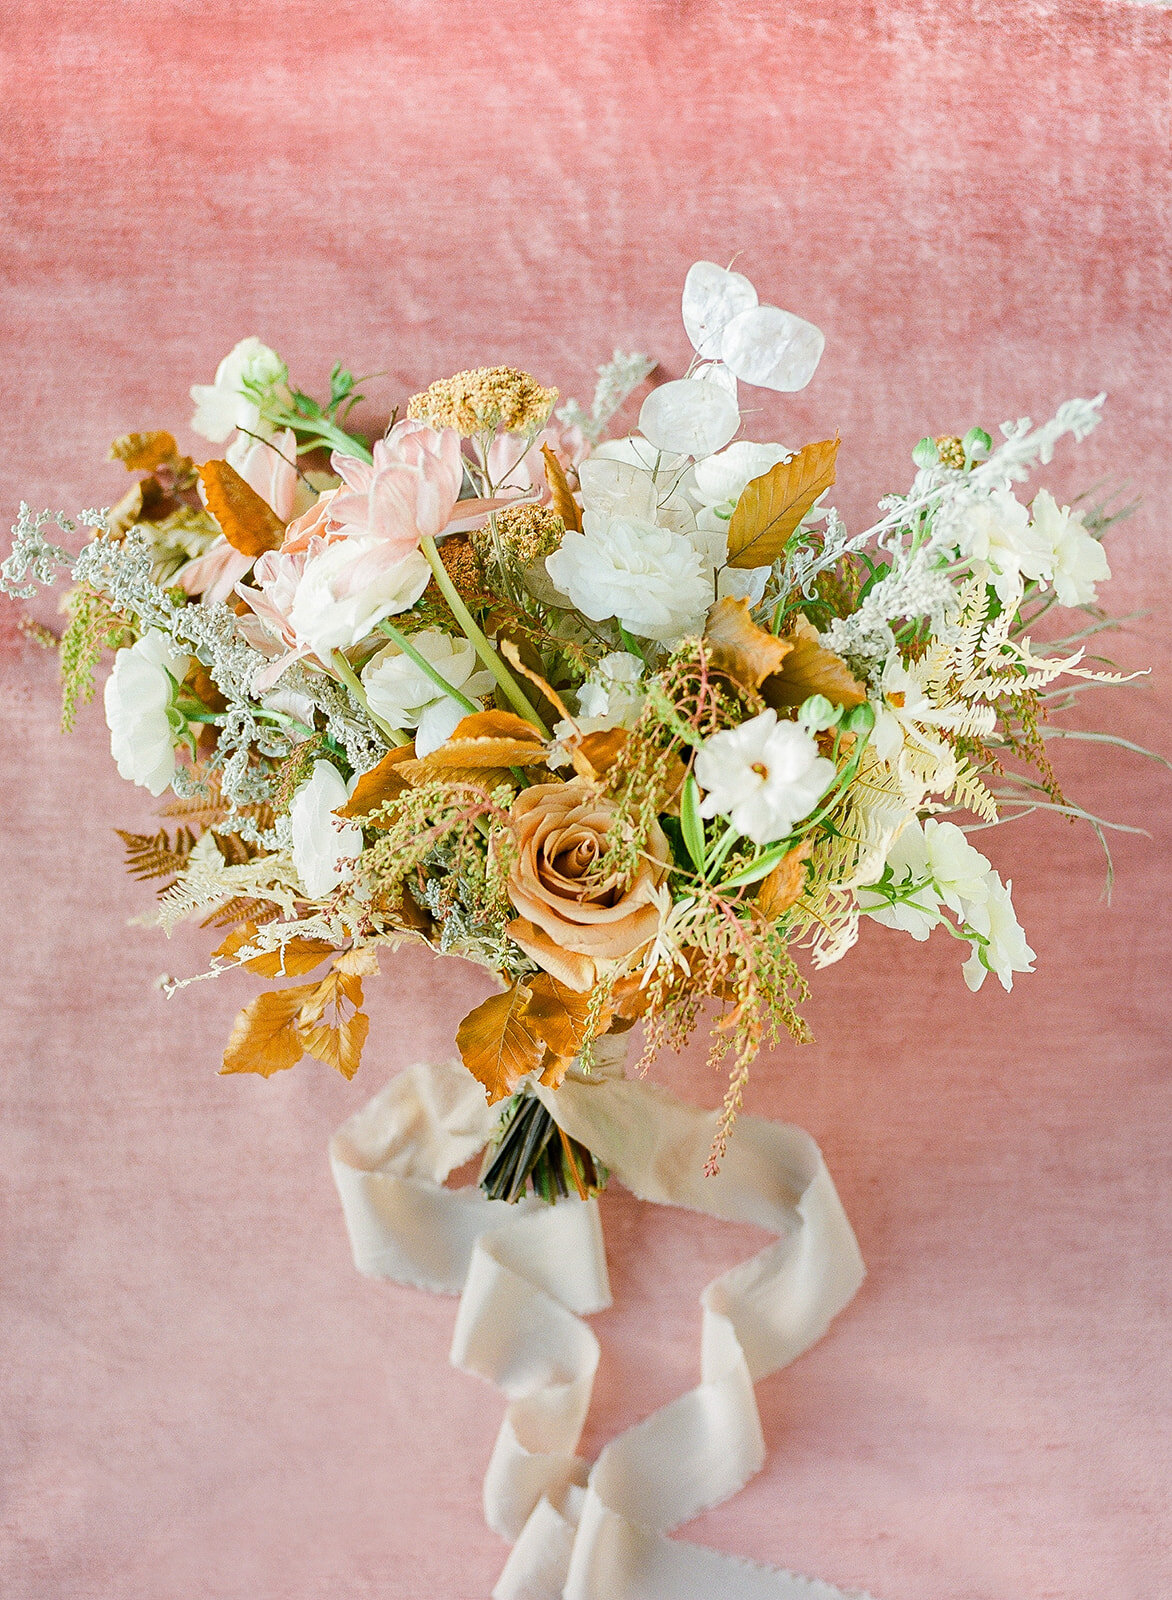
Capturing the bouquet on a couple of different backdrop colors is also a nice idea and provides a bit more variety to choose from when it comes to curating cohesive images for an instagram feed or a blog post.
If the bouquet has long ribbon, make sure that you place the ribbons in an aesthetically pleasing way that looks natural but clean, and contributes to the overall flow and balance of the photo.
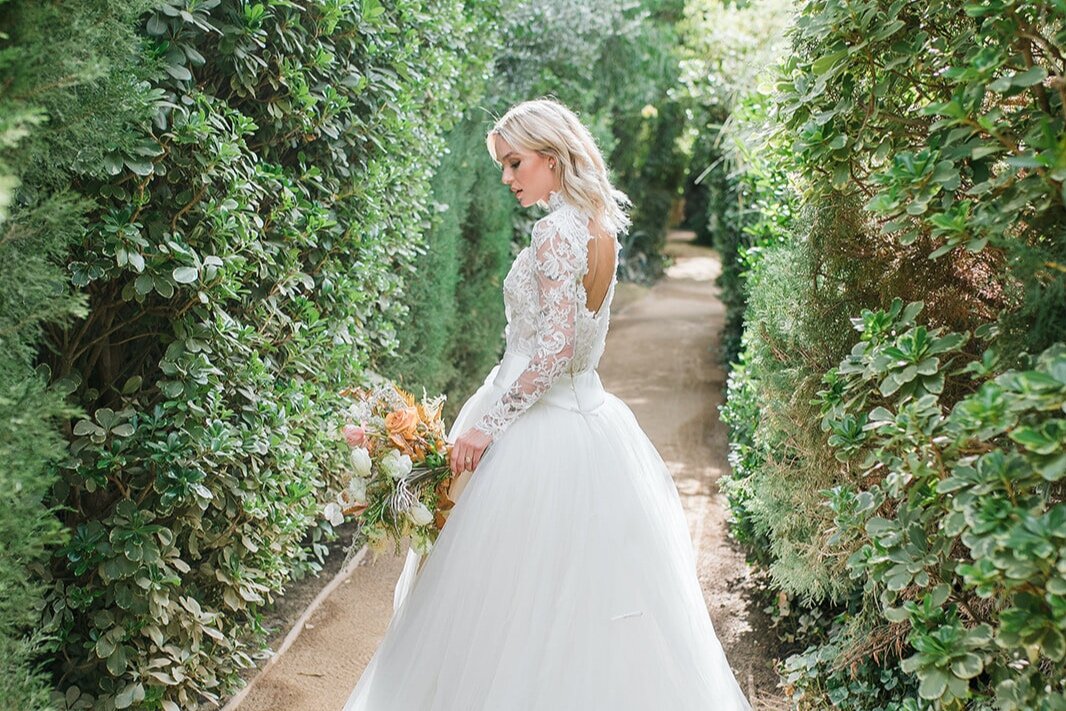
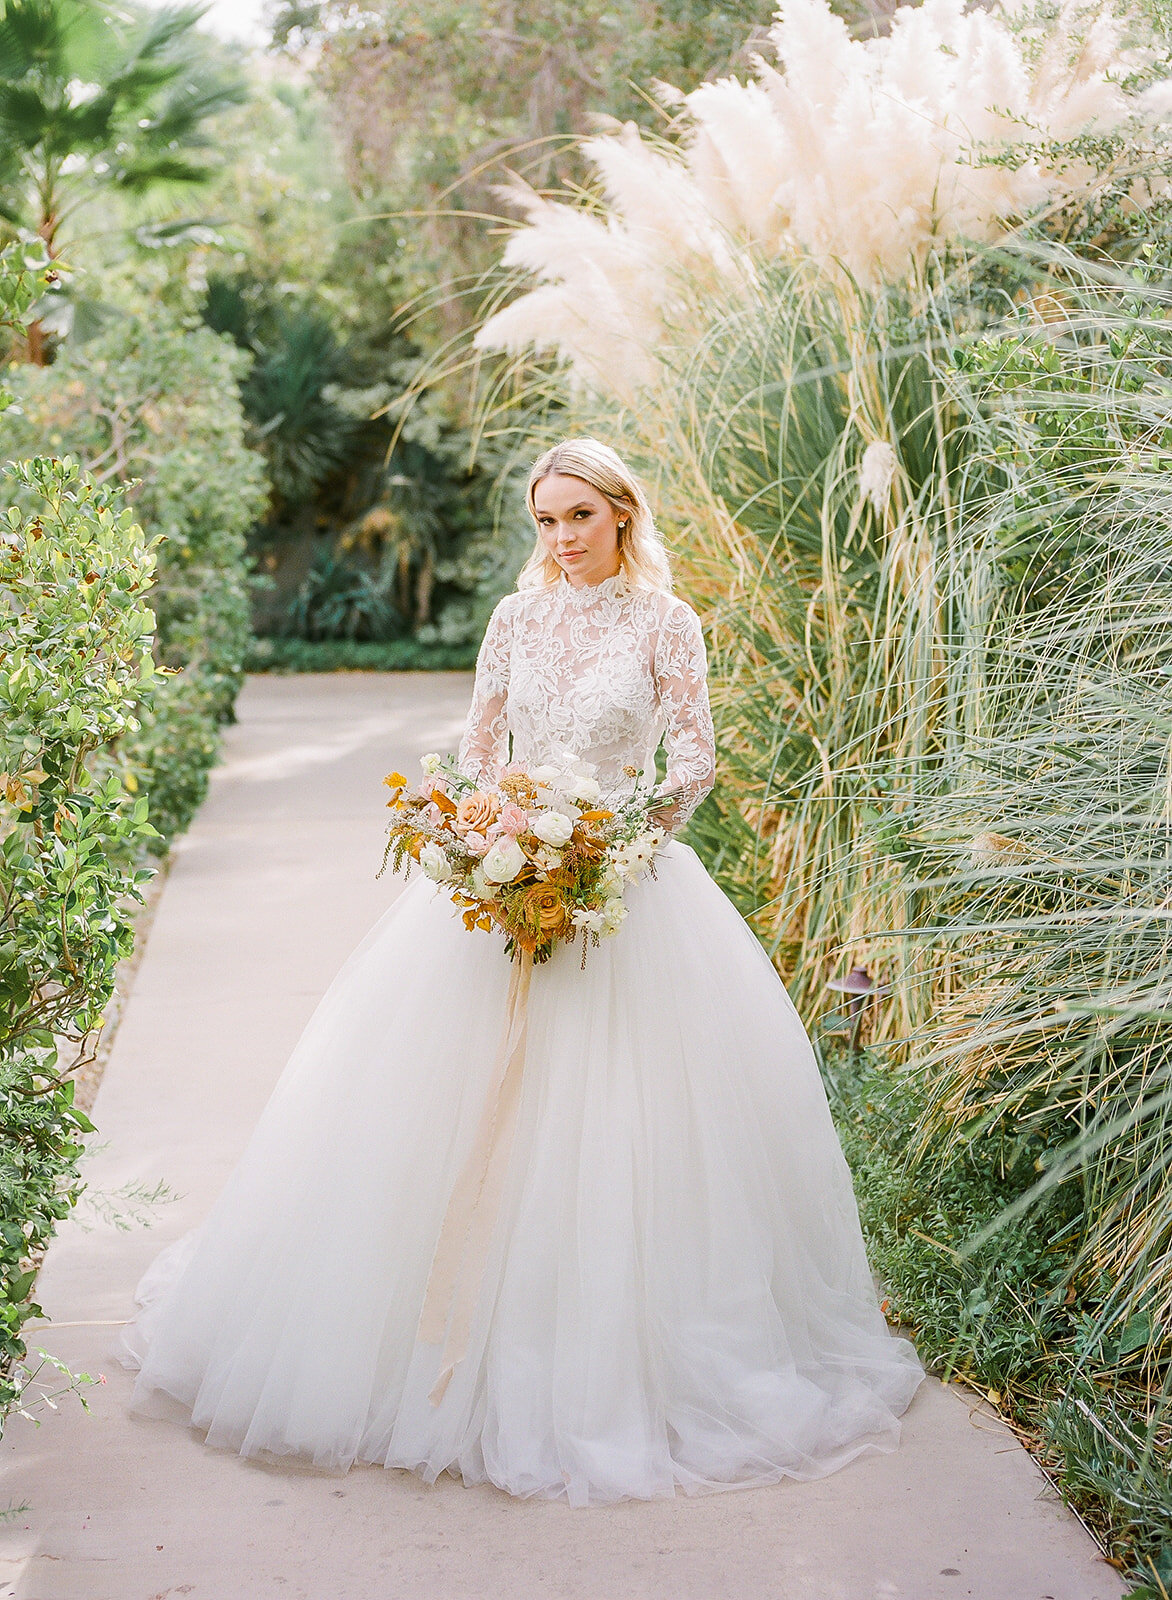
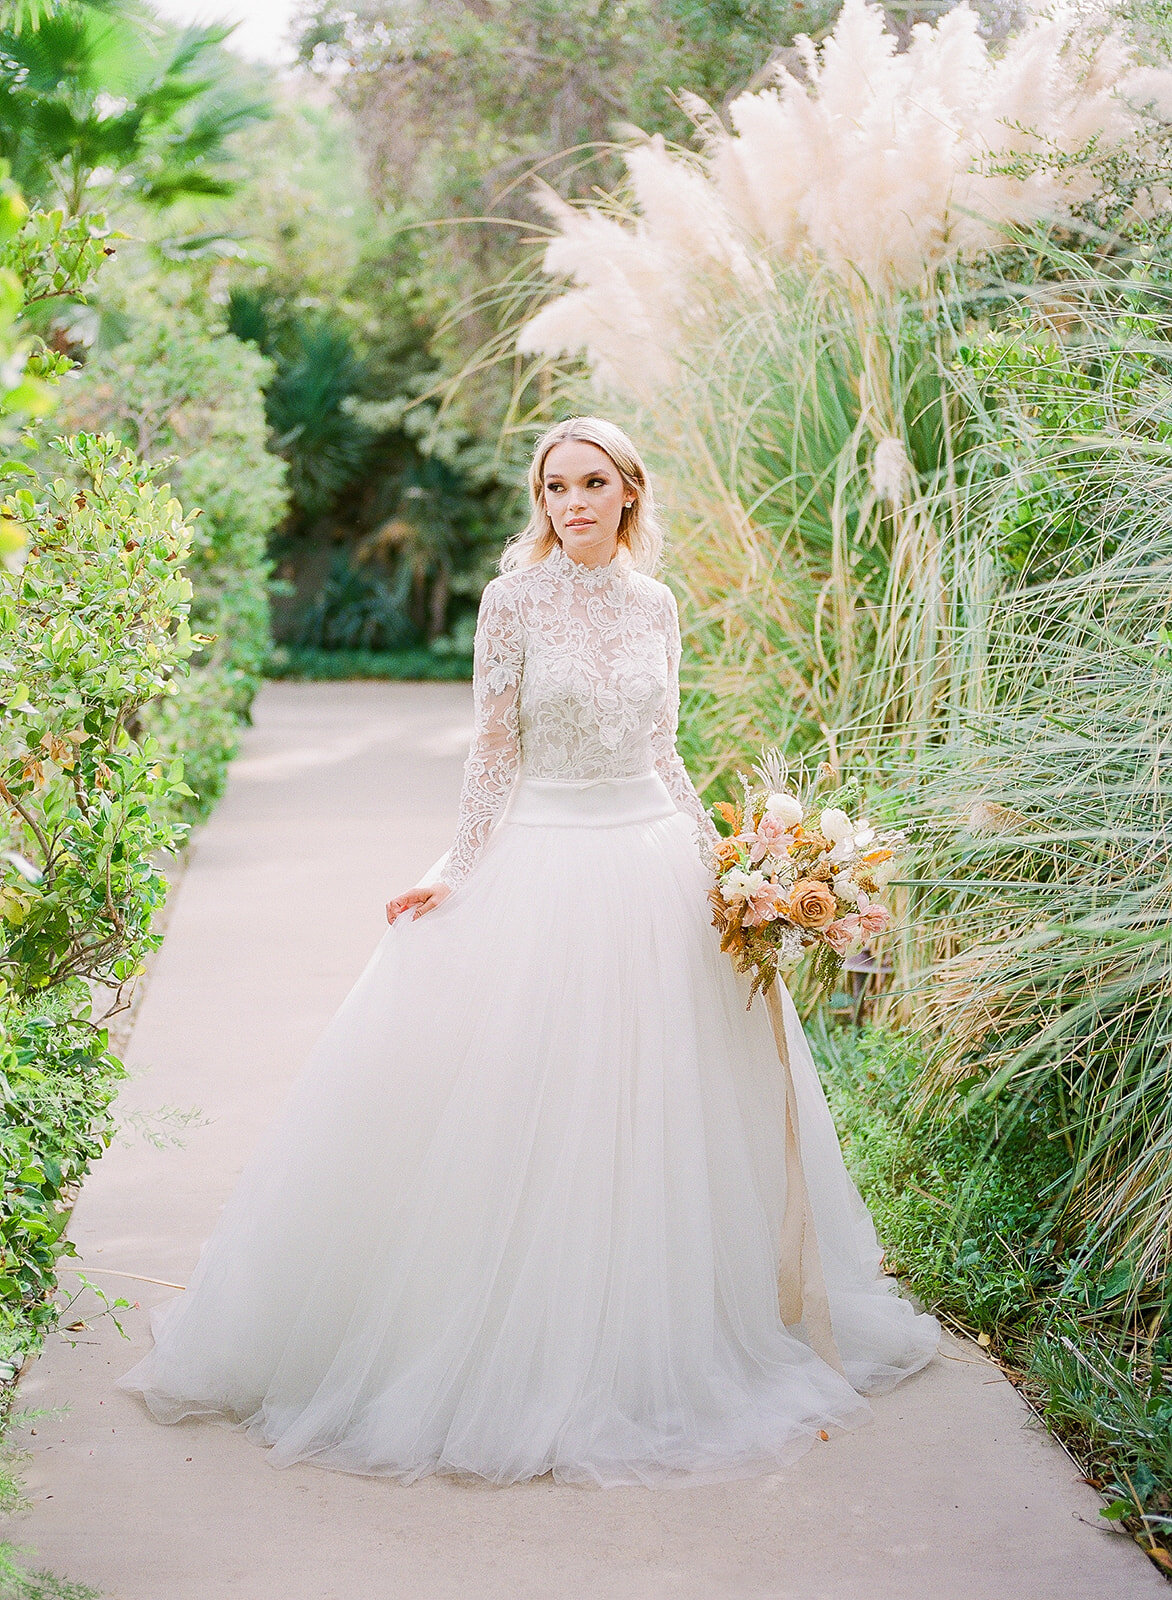
2. Wide Portraits
We like wides, too! Sometimes the bouquet gets a little neglected in these types of shots, but just because it’s not the center of attention, doesn’t mean it can’t still be used by a florist in a gallery. They will want to use images that show off the bouquet well, so as you pose your model in different ways, consider the bouquet position for each of those poses as well. Be thoughtful in the way you position the bouquet so that it shows off the florals in the best way.
If the model is holding the bouquet down at her side, make sure you turn and rotate the bouquet so that the florals are facing the camera. Position her hand to hide the stems, or tuck them behind a ruffle of the gown, so that the focus is less on the stems and more on the flowers. Notice how in all three of the images below, the bouquet is angled towards the camera to show off lots of blooms. So satisfying!
Helpful tip: Check the ribbon and make sure it is not caught on the dress or clinging to the gown in an awkward way. Straighten it out so that it falls neatly, and look out for any stray strands of silk (there’s a tongue twister!) and gently remove them.
3. Soft Natural Light
Flowers are always captured best in soft, even, natural light. Natural light is most flattering because it will help ensure that the colors of the flowers are represented most accurately, and therefore it will most likely show off the color palette the way the florist intended it to be experienced.
Harsh lighting and shadows are usually not appreciated by a florist (although I do personally love a dreamy backlighting), because they can be visually distracting and take away from the design.
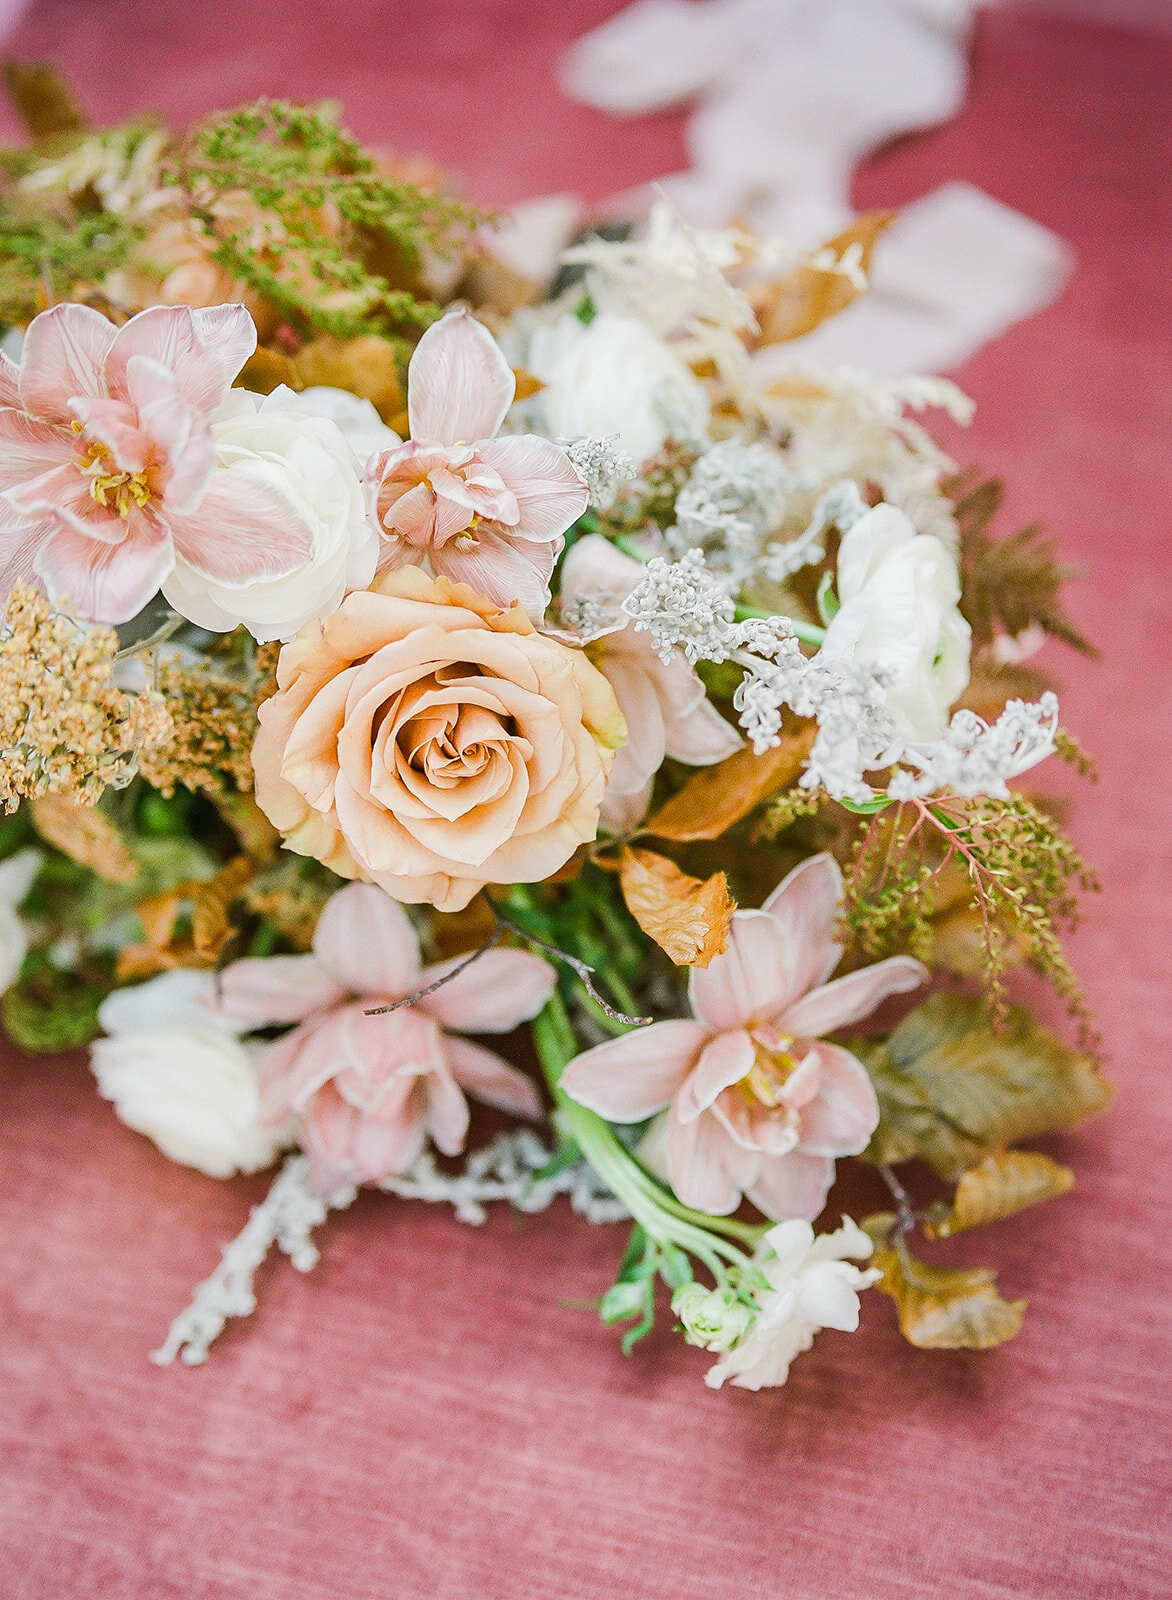
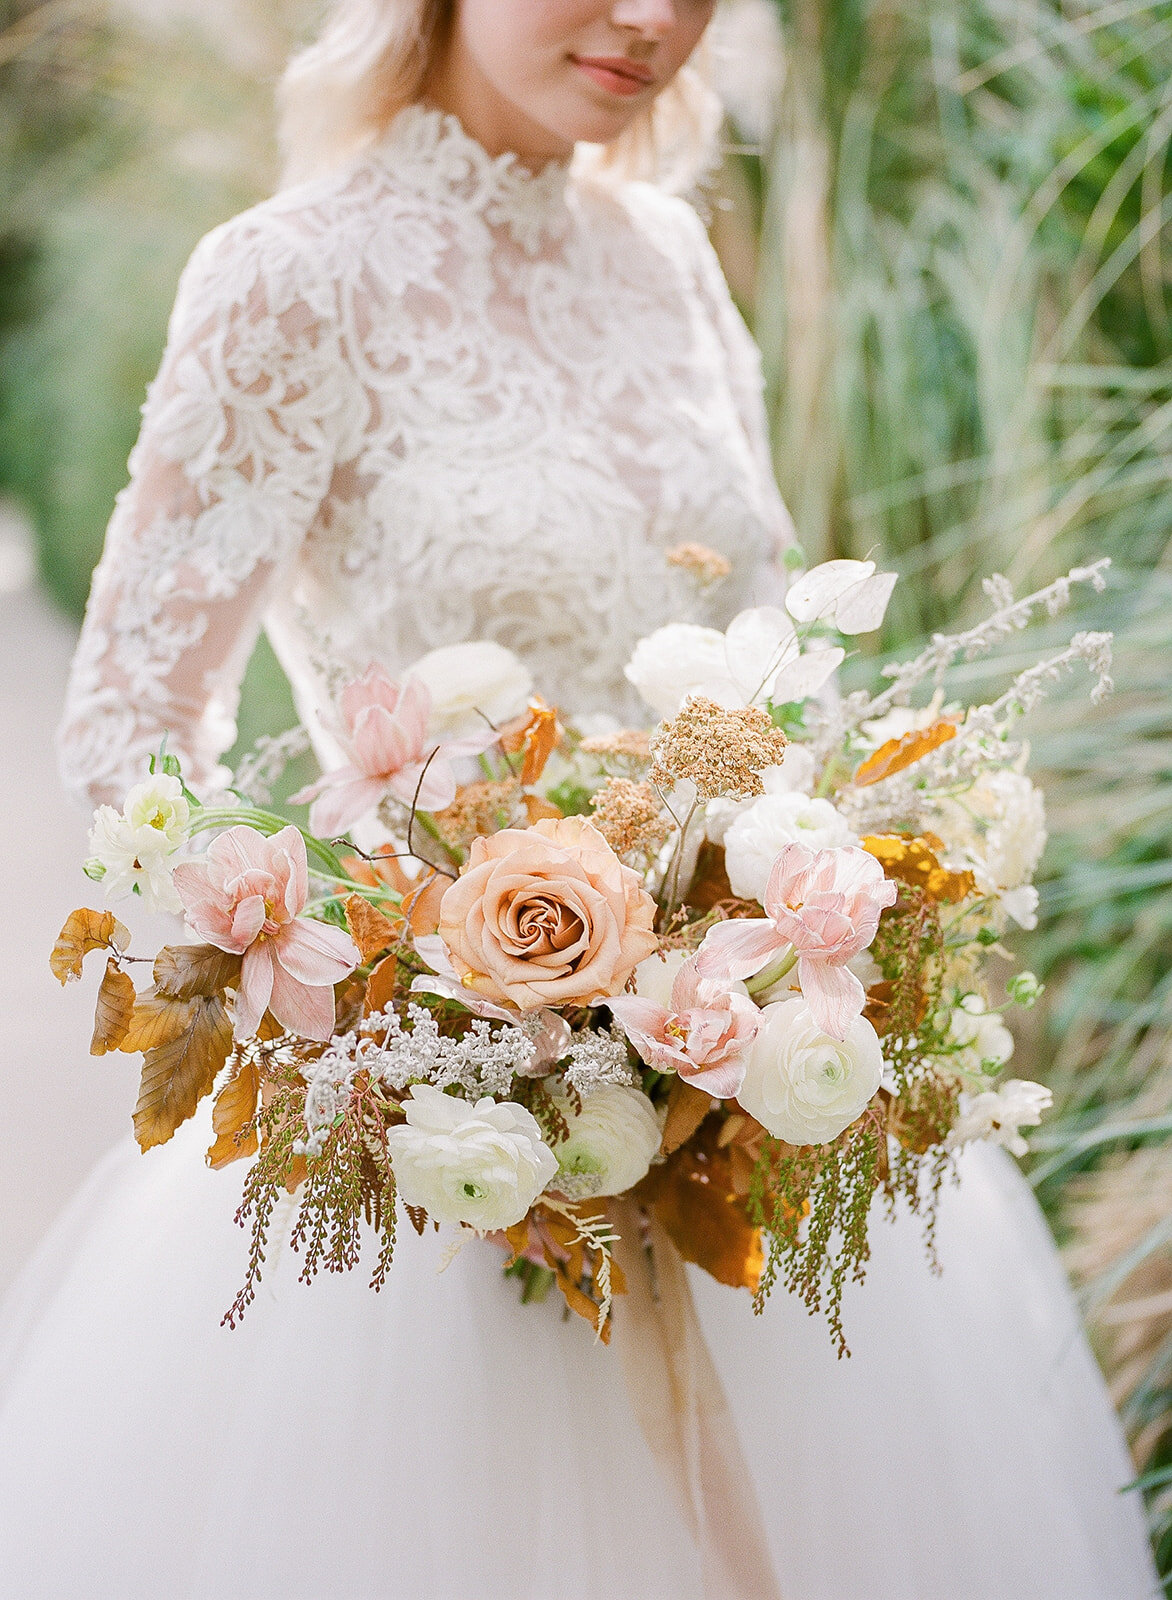
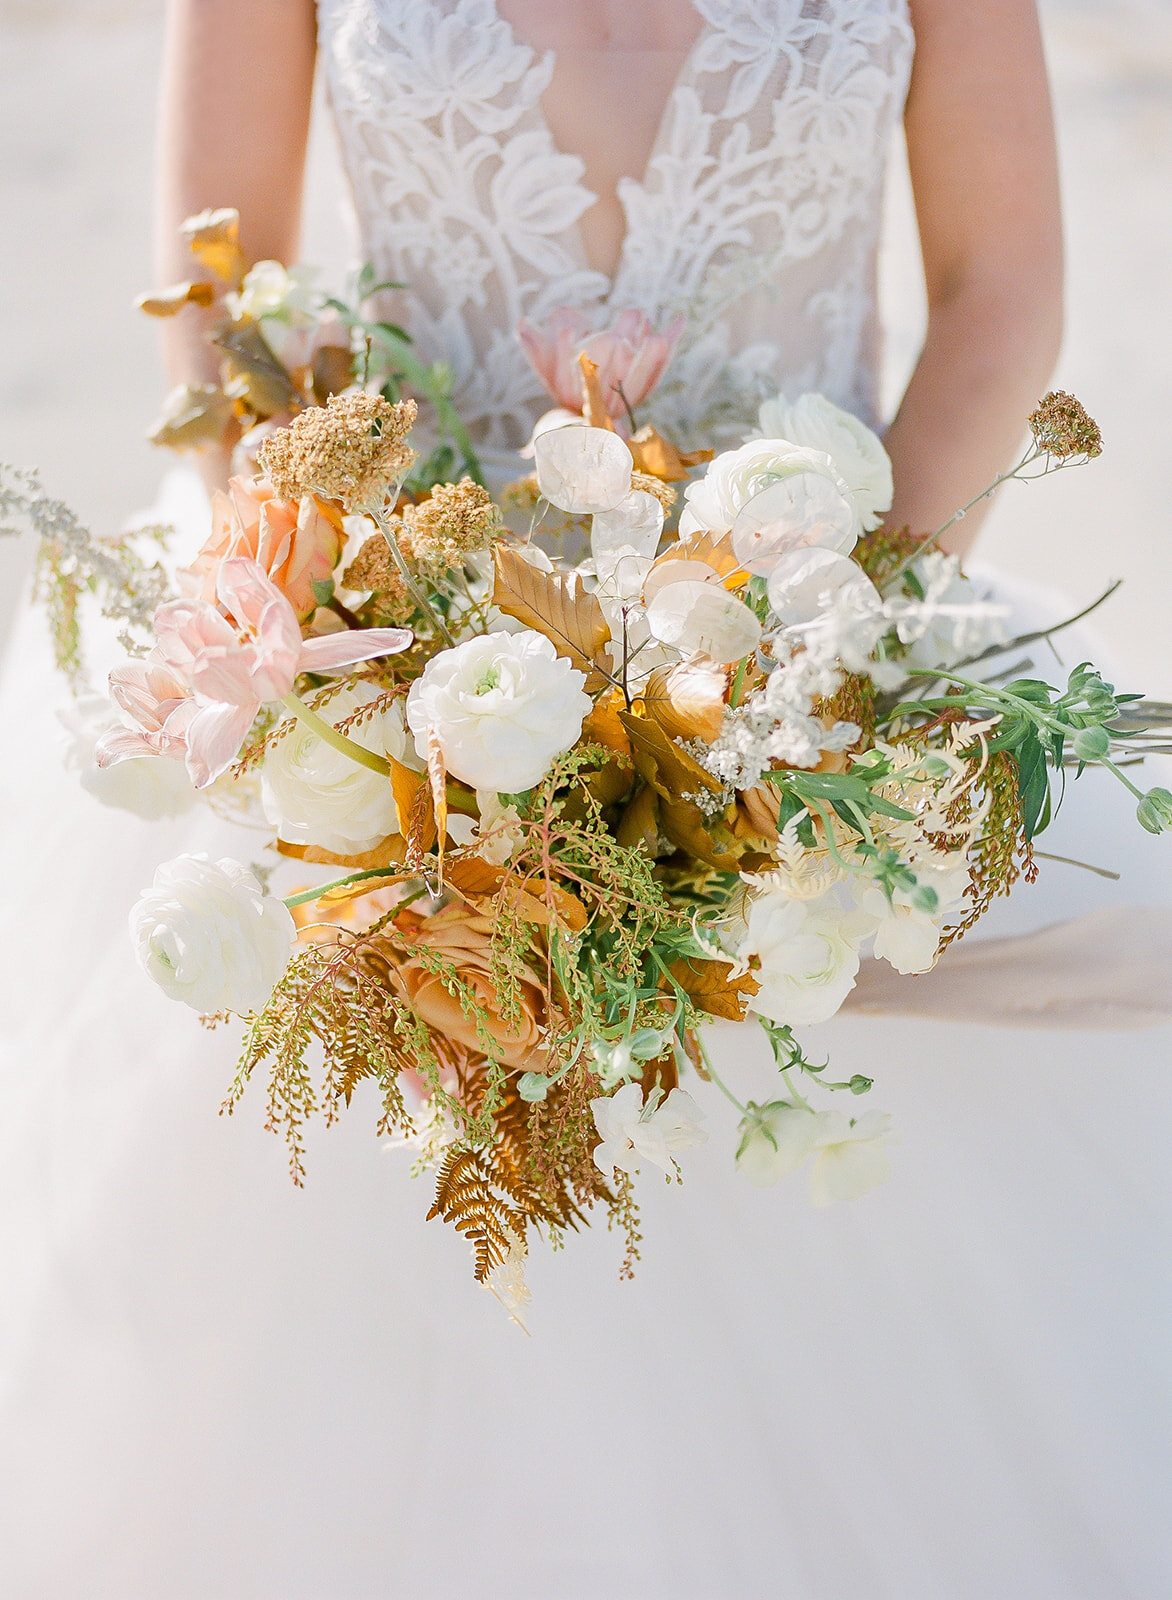
4. Up Close (and in Focus!)
This seems like an obvious one, right? Most of the time I do receive a good amount of up close bouquet shots from collaborations, but surprisingly I have received galleries that fail to include a nice juicy tight shot of the bouquet on its own. More than one would be ideal, but at the very least, I always hope to see at least one of these shots in a gallery. After all, the bouquet is typically our most cherished creation and the one we spend the most time on. Again, a bouquet can look totally different from different angles so if you don’t have a definite front, the more angles, the better!
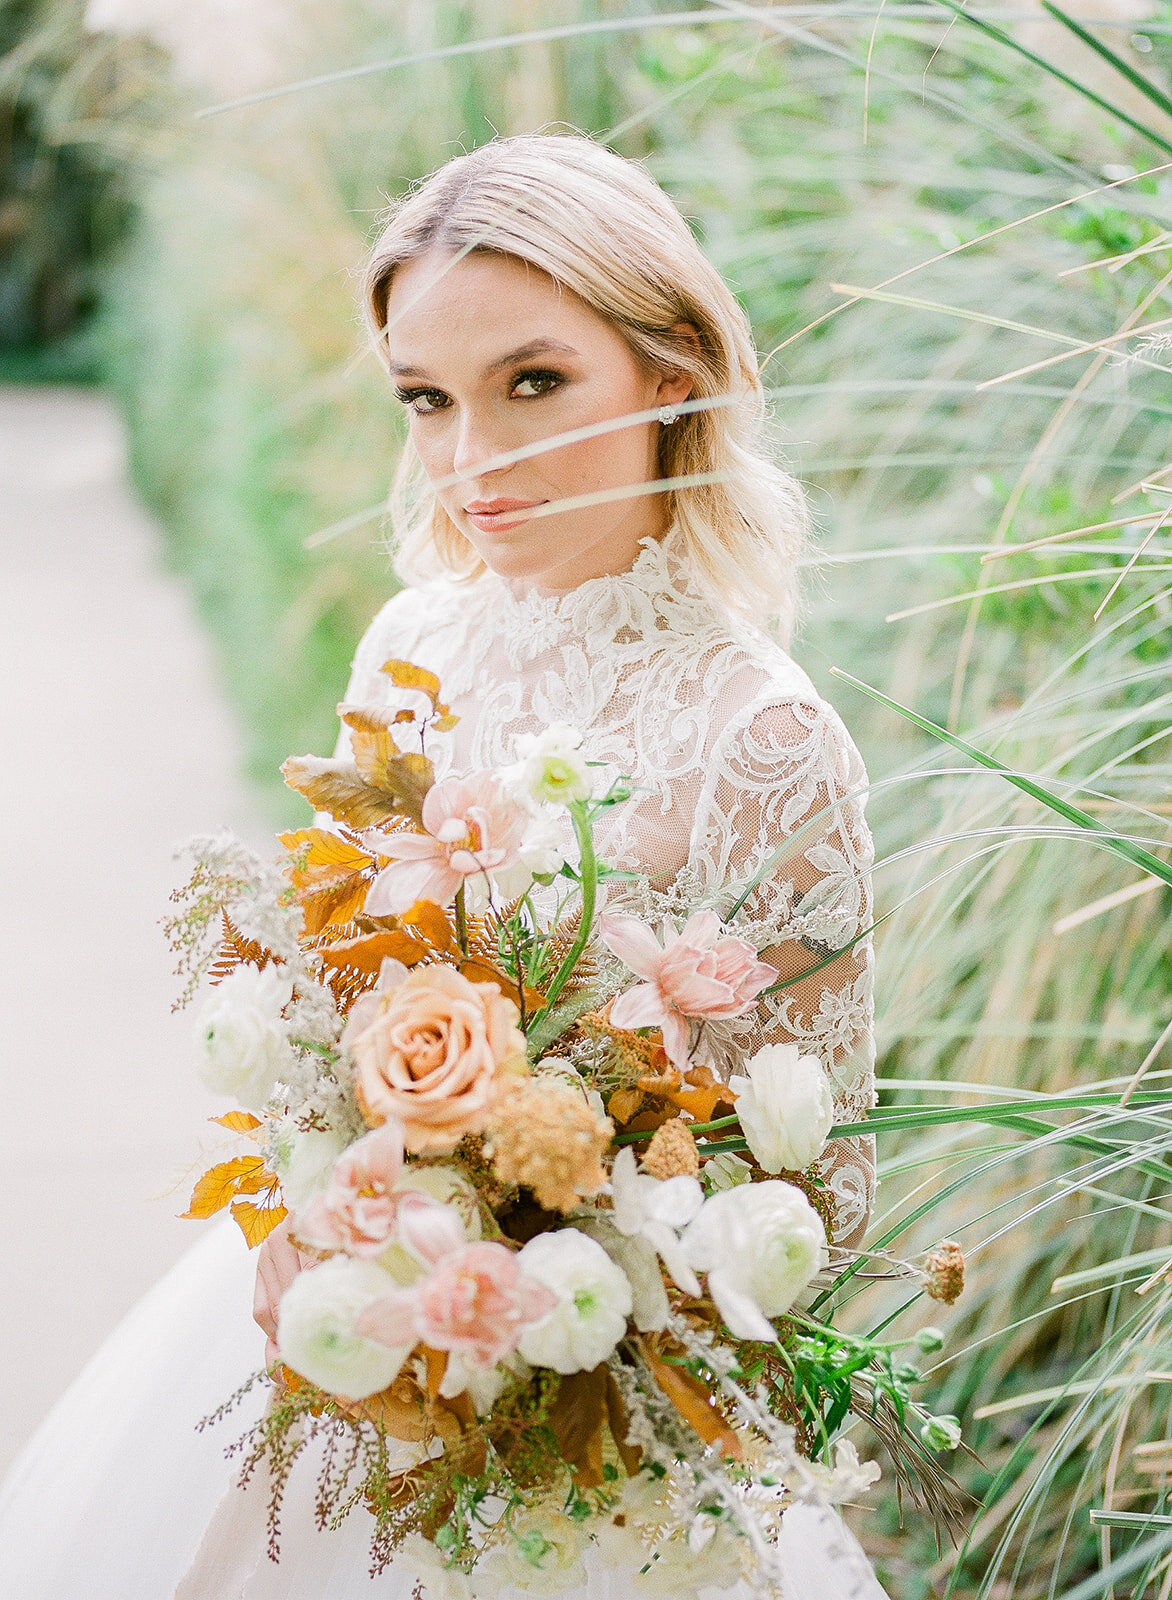
When it comes to tighter bridal portraits where the bride’s face is in frame, if you can, try to get one with the bouquet in focus, as well as one with the bride’s face in focus.
Often times I will love a certain photo because of the way the florals look in the photo (best angle, perfect lighting, etc) but sadly, the florals were not the subject in focus and I wish the photographer had captured just one more of the exact same photo but with the florals in focus.
Speaking of “in-focus,” this doesn’t necessarily mean that the entire bouquet needs to be crisp and in focus. I personally love a shallow depth of field with a soft, partially blurred effect that shows off the depth and movement in the bouquet!
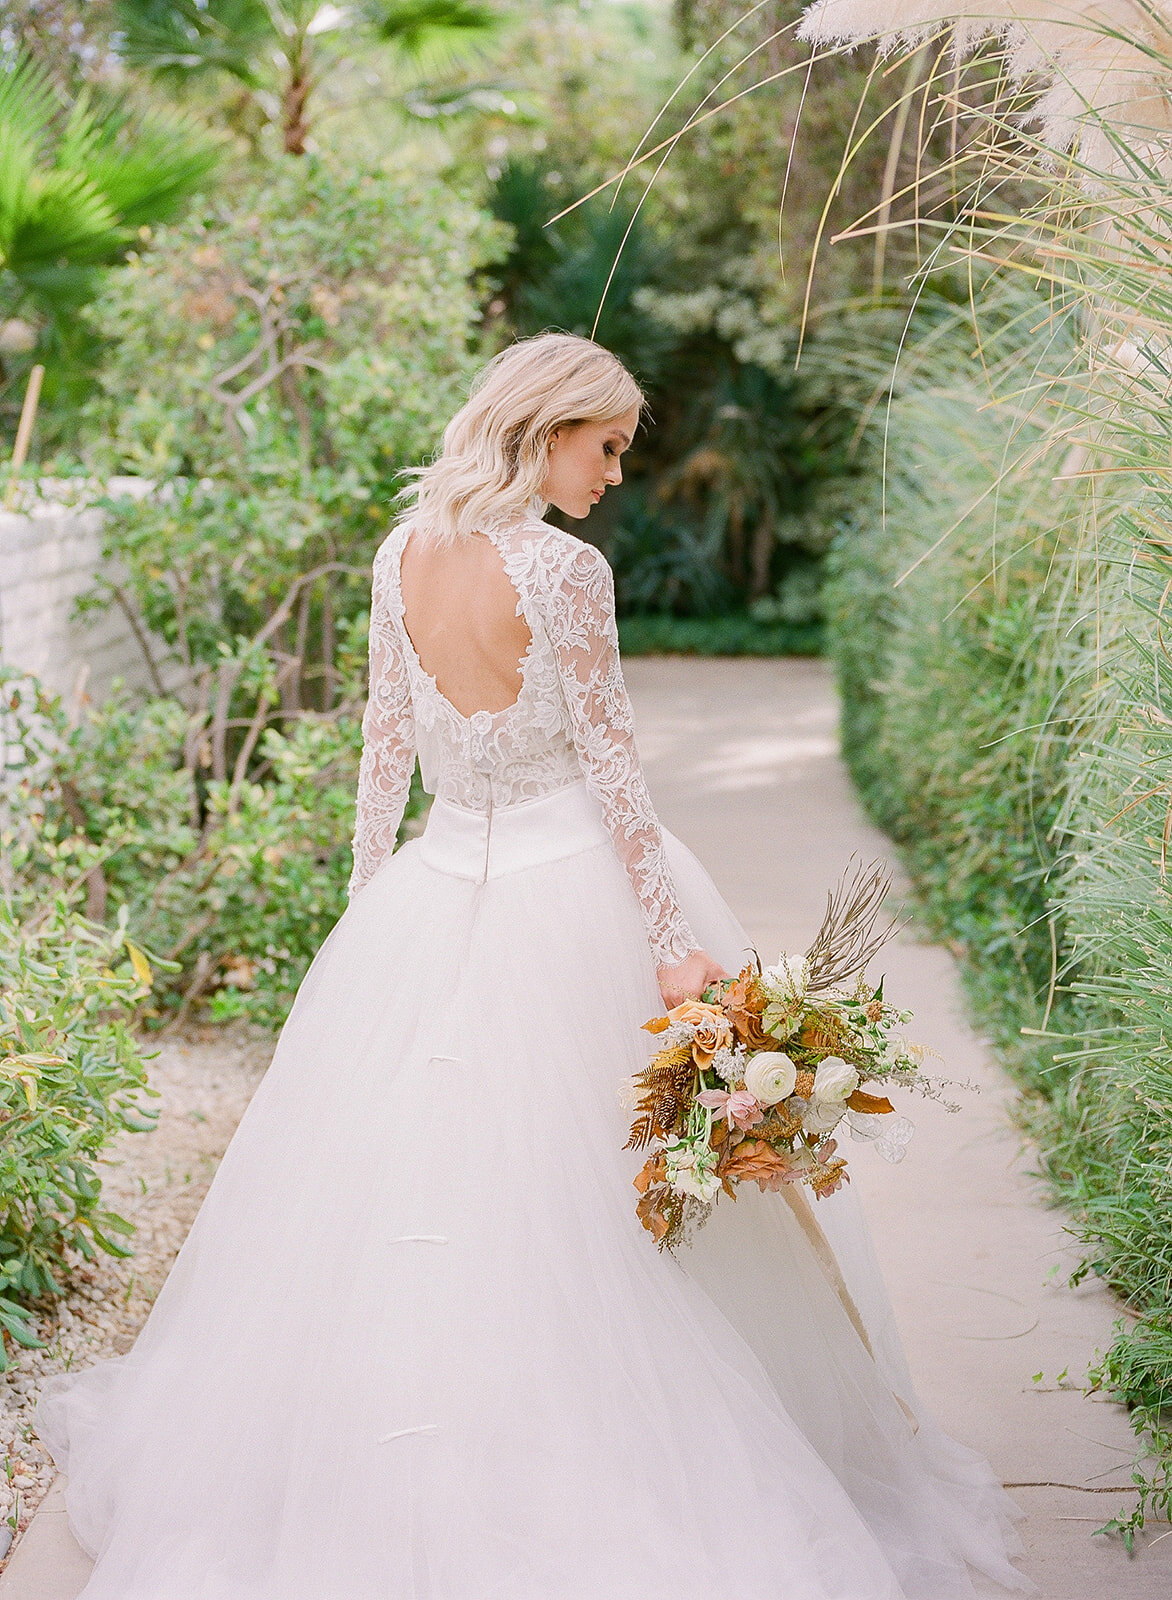
5. Cradled Over the Arm
One great bouquet pose that seems to be a favorite of photographers is cradled over the arm. We LOVE this! It’s so romantic and really shows off the flowers. HOWEVER… Make sure that the bouquet is not actually being cradled, but rather is extended OVER the model’s arm (simply giving the illusion of being cradled).
Basically, if the flowers towards the bottom aren’t able to freely waterfall off the bride’s arm, the model is holding it or clutching it too tightly. Instead, have the model allow for the entire bouquet to extend past the arm so that the bouquet is in complete view.
Helpful tip: If you have the model hold the bouquet ever-so-slightly more towards the camera (even if it seems awkward and may not even be in actual contact with her arm) this will make the bouquet appear larger and fuller and make for a much more dramatic and eye-catching image!
I hope you found some helpful new tips here and that you’ll keep some of these things in the back of your mind the next time you are working on a collaborative shoot!
Did you find this post helpful? Please leave me a note in the comments below and be sure to let me know if there are any other floral-related tips you’d like me to share!
Vendor Credits:
Photography: @alexwphotography
Gown: @moniquelhuillier @moniquelhuillierbride
HMU: @staciefordbeautyco
Planning & Design: @studiocollette
Florals: @mulberryandmoss


add a comment
+ COMMENTS